How it works
Welcome to SleepLabzz!
On this page, you'll find everything you need to set up your silent vibrating alarm band quickly and easily.
At SleepLabzz, our mission is simple: help you take control of your morning—calmly, silently, and on your terms.
Our innovative vibrating alarm band gently wakes you without sound, so you can rise feeling refreshed, energized, and ready to take on the day—without disturbing your partner.
Quick guide

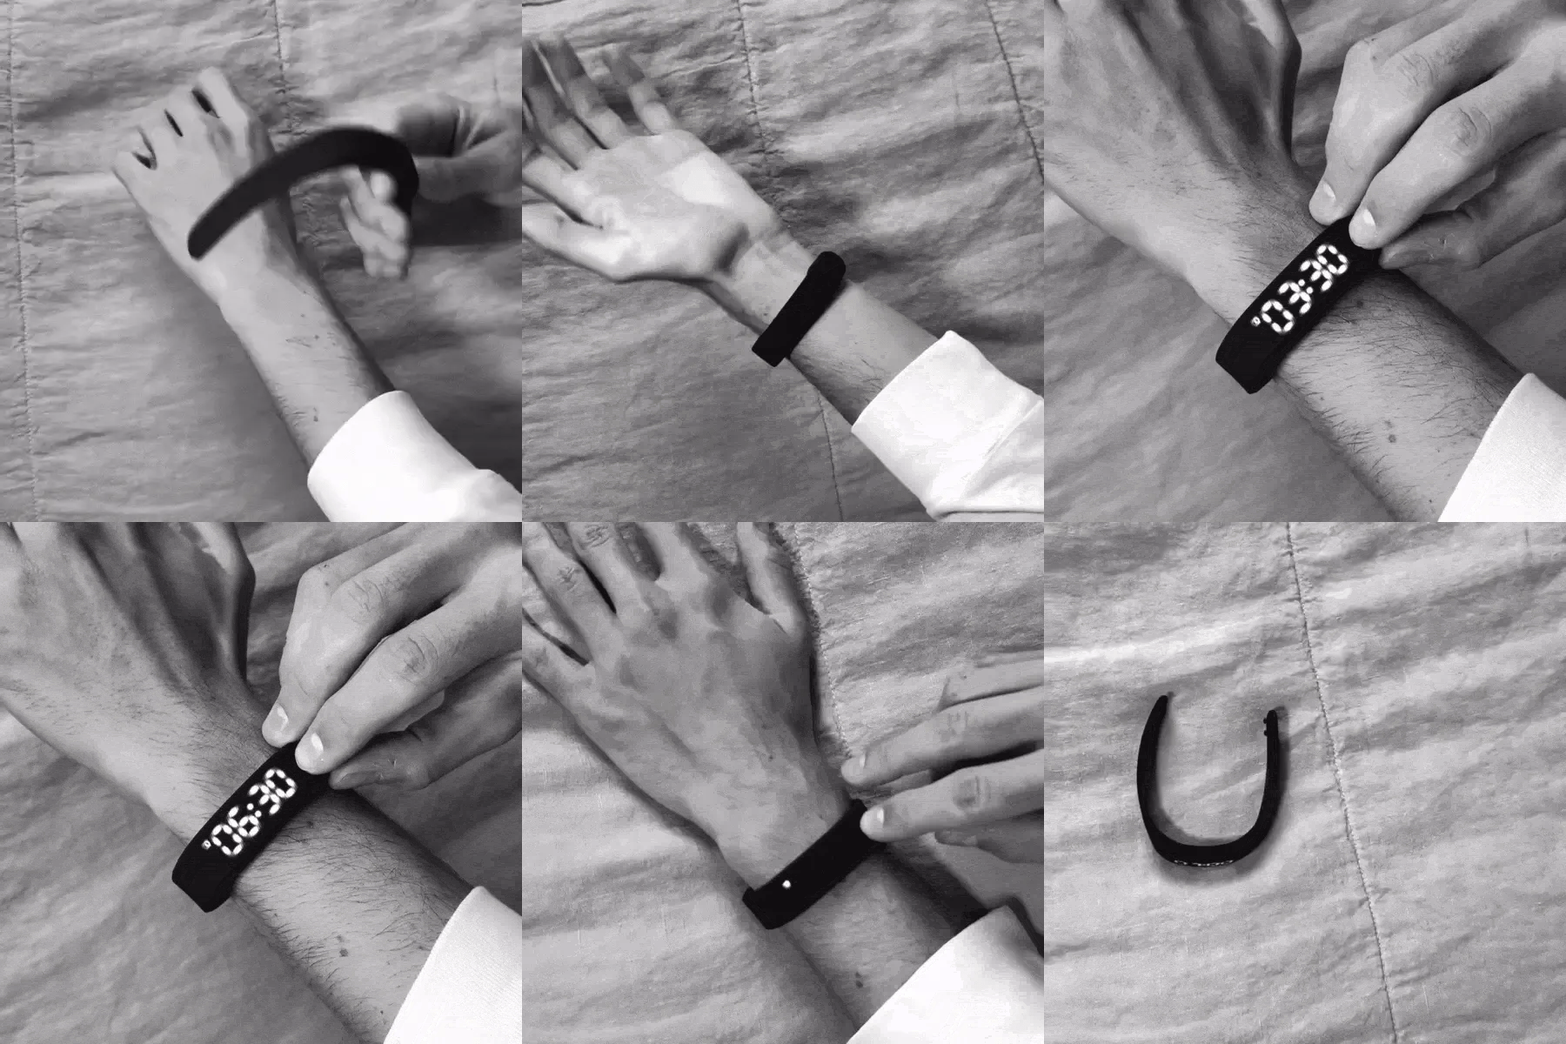
You put the wristband on before going to sleep and simply set the alarm. When the alarm goes off, turn it off and place the wristband back on your nightstand.
You put the wristband on before going to sleep and simply set the alarm. When the alarm goes off, turn it off and place the wristband back on your nightstand.

User Manual
Important information:
- If you do nothing for more than 4.5 seconds while setting the alarm, the SleepLabzz will automatically return to the time screen. Make sure you take action within 4.5 seconds to continue setting the alarm.
- Confirm actions: To confirm any setting (such as changing from hours to minutes or saving the set time), press and hold the button for 3 seconds.
Can't get it all done at once? No worries, you can simply restart by holding the button for 3 seconds again when you're on the time screen. The hour will then start flashing again.
We recommend watching Dominique's instructional video. She clearly demonstrates how easy it is to install the SleepLabzz.
1. Set time and personal data
Turn on your SleepLabzz by pressing the button once. You'll now see the time you want to adjust. Hold the button for 3 seconds to start the adjustment process; the "hour" indicator will start flashing. Use the button to set the hour, then press the button again for 3 seconds to go to the "minutes" time. Repeat this process to set the minutes, month, day, and year. You can also choose between a 12-hour or 24-hour clock format.
After setting the time and date, the device will prompt you to enter your height and weight. Hold the button until the corresponding indicator flashes, then use the button to adjust these values.
Once you've completed all settings, don't press any buttons for 8 seconds; the SleepLabzz will save the data and return to standby mode. Your device is now fully configured and ready to use!
2. Install the alarm function
- Setting the alarm : To set the alarm, press the button 5 times to display the first alarm group. If "A1 OF" is displayed, it means the alarm is disabled by default. To turn it on, press and hold the button for 3 seconds. The hour will start flashing; press the button to set the hour. Once the hour is set, press and hold the button again to move to the minutes. After setting the minutes, press and hold the button again for 3 seconds to save the alarm. The alarm is now activated.
Note : Once you've set the alarm, it will go off at the same time every day until you turn it off or change it. This is useful if you have a fixed alarm time; you only need to set the alarm once.
To set additional alarms, press the button 6 or 7 times to access the other alarm groups and follow the same procedure.
- Alarm off : To turn off the alarm, navigate to the set alarm by pressing the button the appropriate number of times. Once the alarm is displayed, hold the button for 3 seconds, then press the button again until "A1 OF" appears. Then hold the button for 3 seconds to turn the alarm off again.
3. Charging instructions - battery level
To check your SleepLabzz's battery level, press and hold the button for 3 seconds while the device is in standby mode. The percentage will then be displayed. For more information on charging, scroll down for charging instructions and watch Dominique's video.
Blogging
Read more than 10 blogs about improving your sleep and morning routine.


